Over the last few weeks, I have spent part of each day working on an SPFx project. For me, this is the first time doing so on an extended basis, and I found myself repeating many setup steps before working on code. So I fixed that with automation and wanted to share. This works for me, YMMV.
My development "flow"/background
Let me lay out what I do. This is not an invitation for folks to tell me how I am holding it wrong. My dev machine, my rules.
- I use POSH on Windows.
- I prefer the GIT command line. I'm using
posh-gitcustomized how I like it. - Every pixel on my primary monitor is for code. So the VSCode integrated terminal stays closed. The secondary monitor is where I run things.
My typical projects
As you can imagine, I am not just writing a web part to show static text. I need to call web services. I need to write those web services. I have six different profiles in Edge/Chromium. So, to get started, I needed to do:
- Open the editor for the SPFx project. Usually VSCode.
- Open a console/terminal window and run
gulp serve --nobrowser. (Remember, I don't like the integrated VSCode terminal.) - Open the browser page for the SPFx project.
- Open the editor for the web api project. Usually Visual Studio.
- Open a console/terminal and run ngrok.
And, of course there are browser windows for looking up the latest React stuff and things I don't know about.
My productivity enhancements
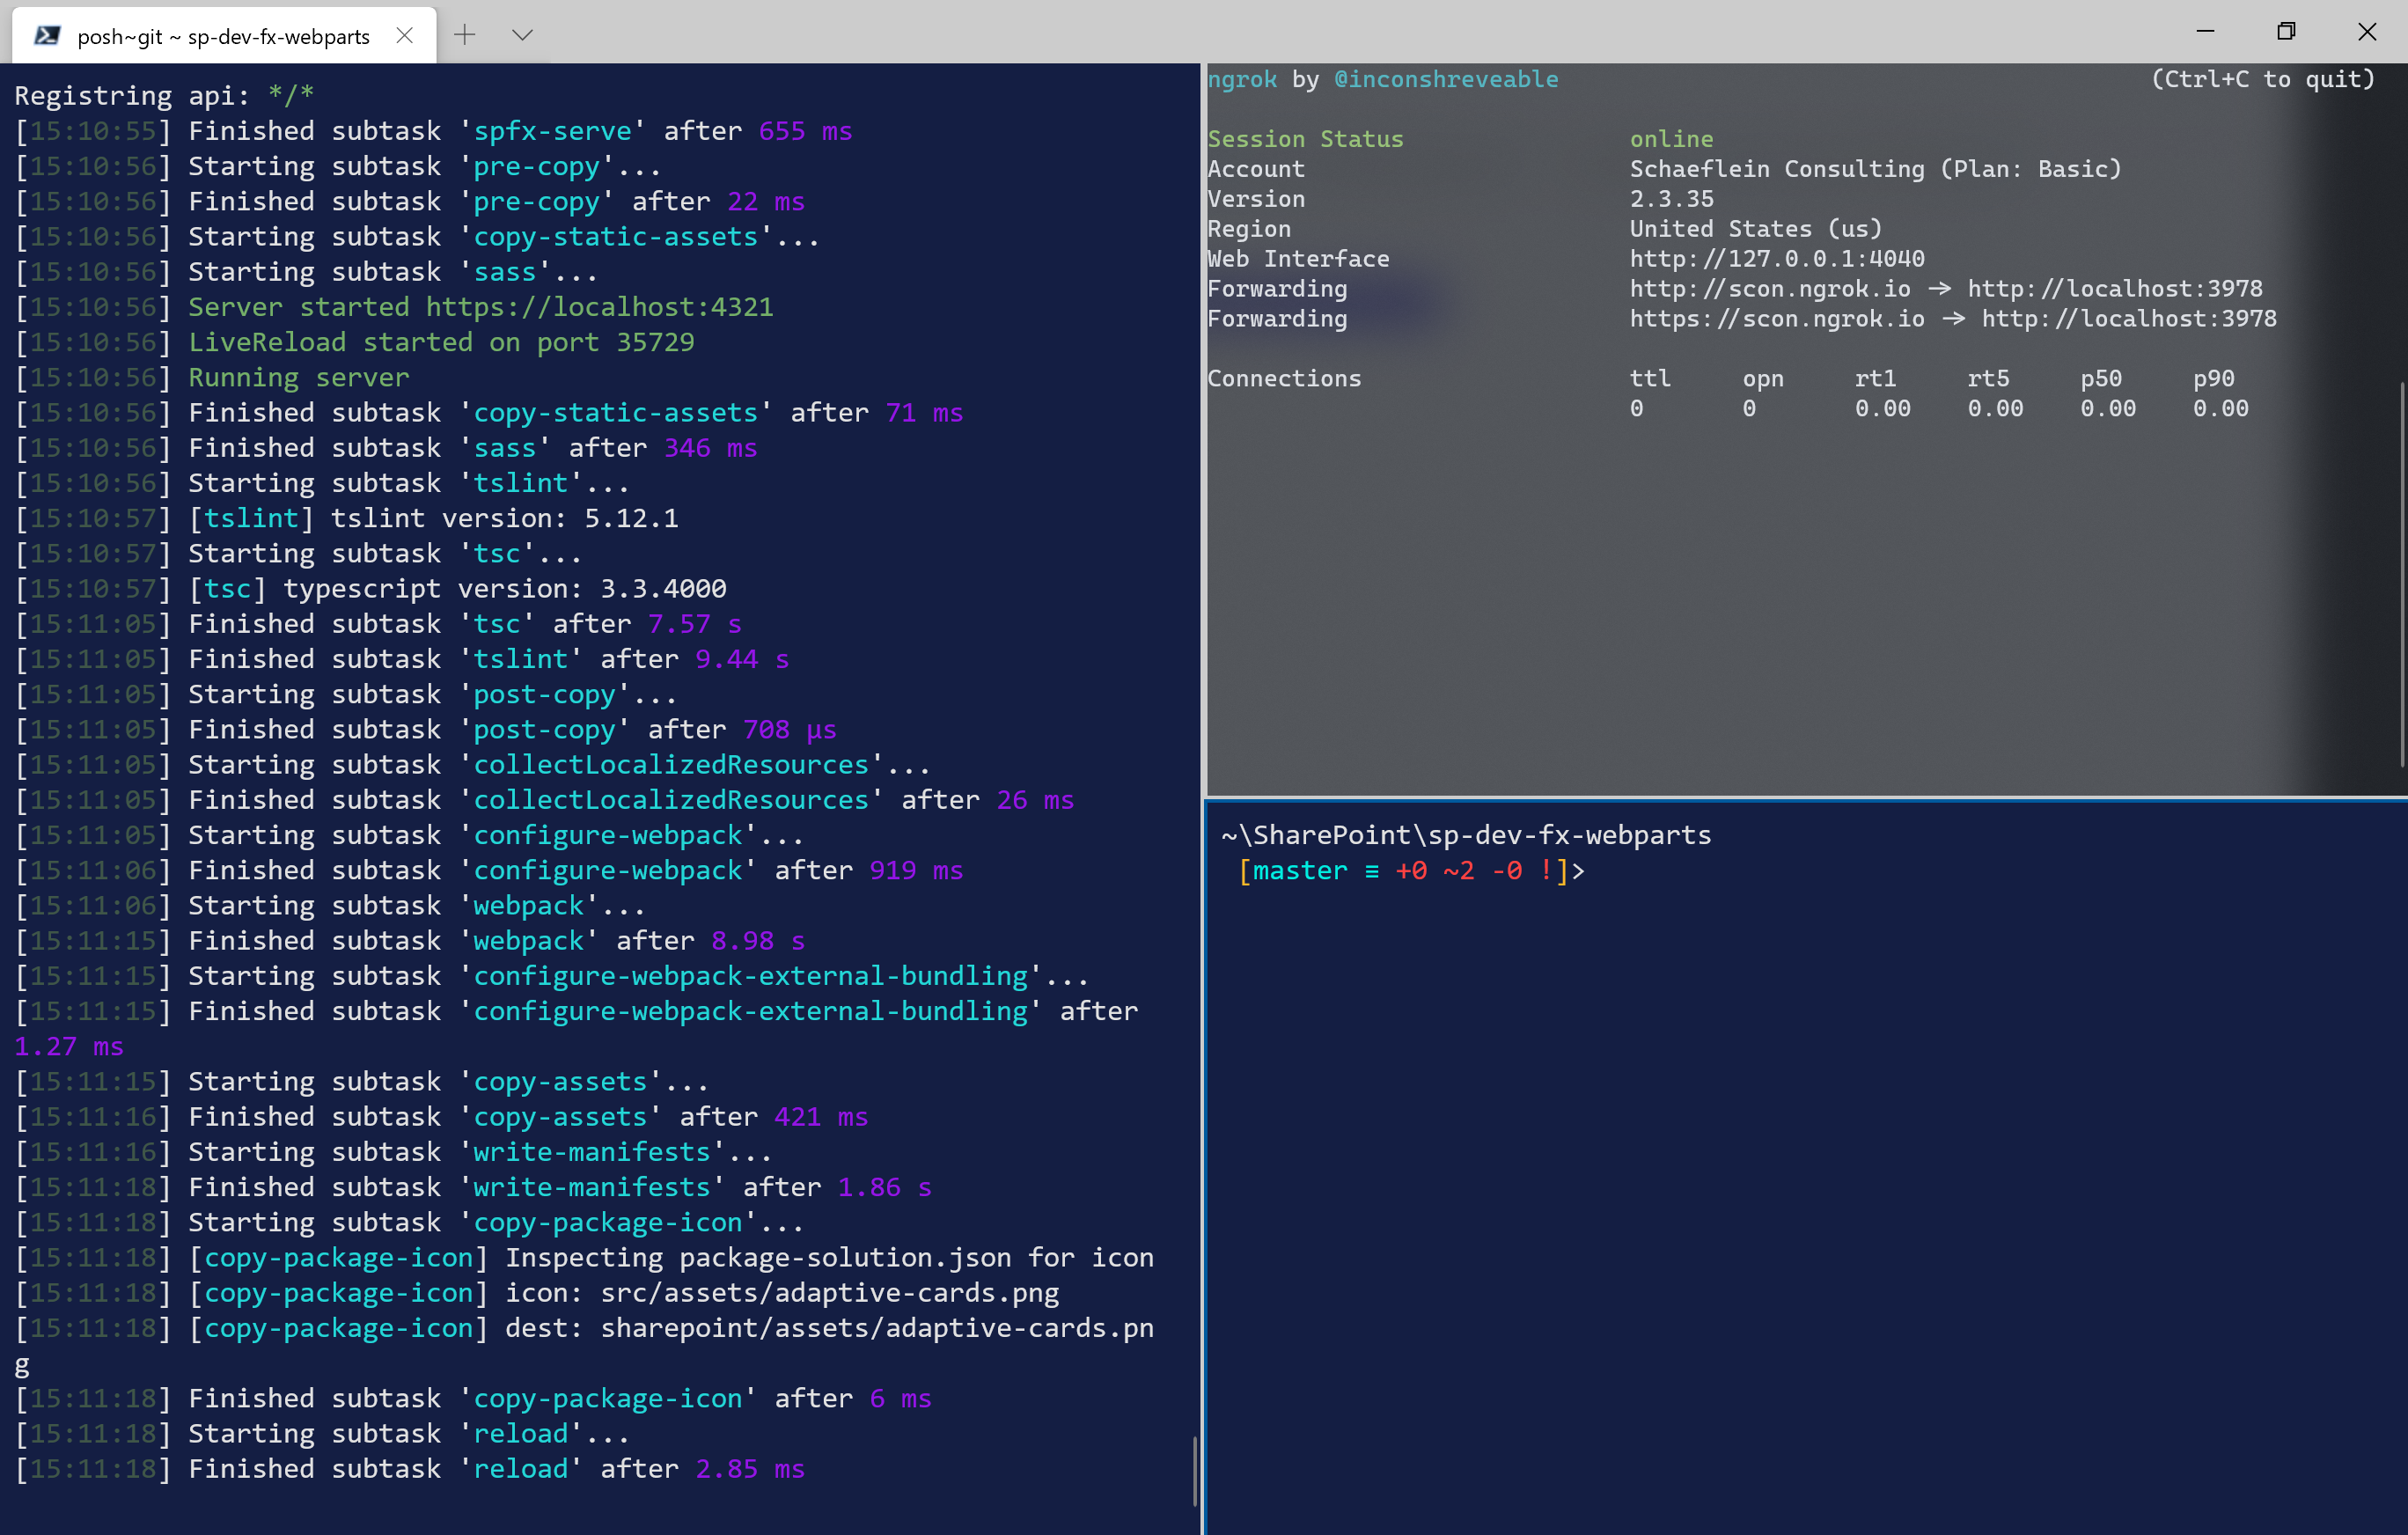
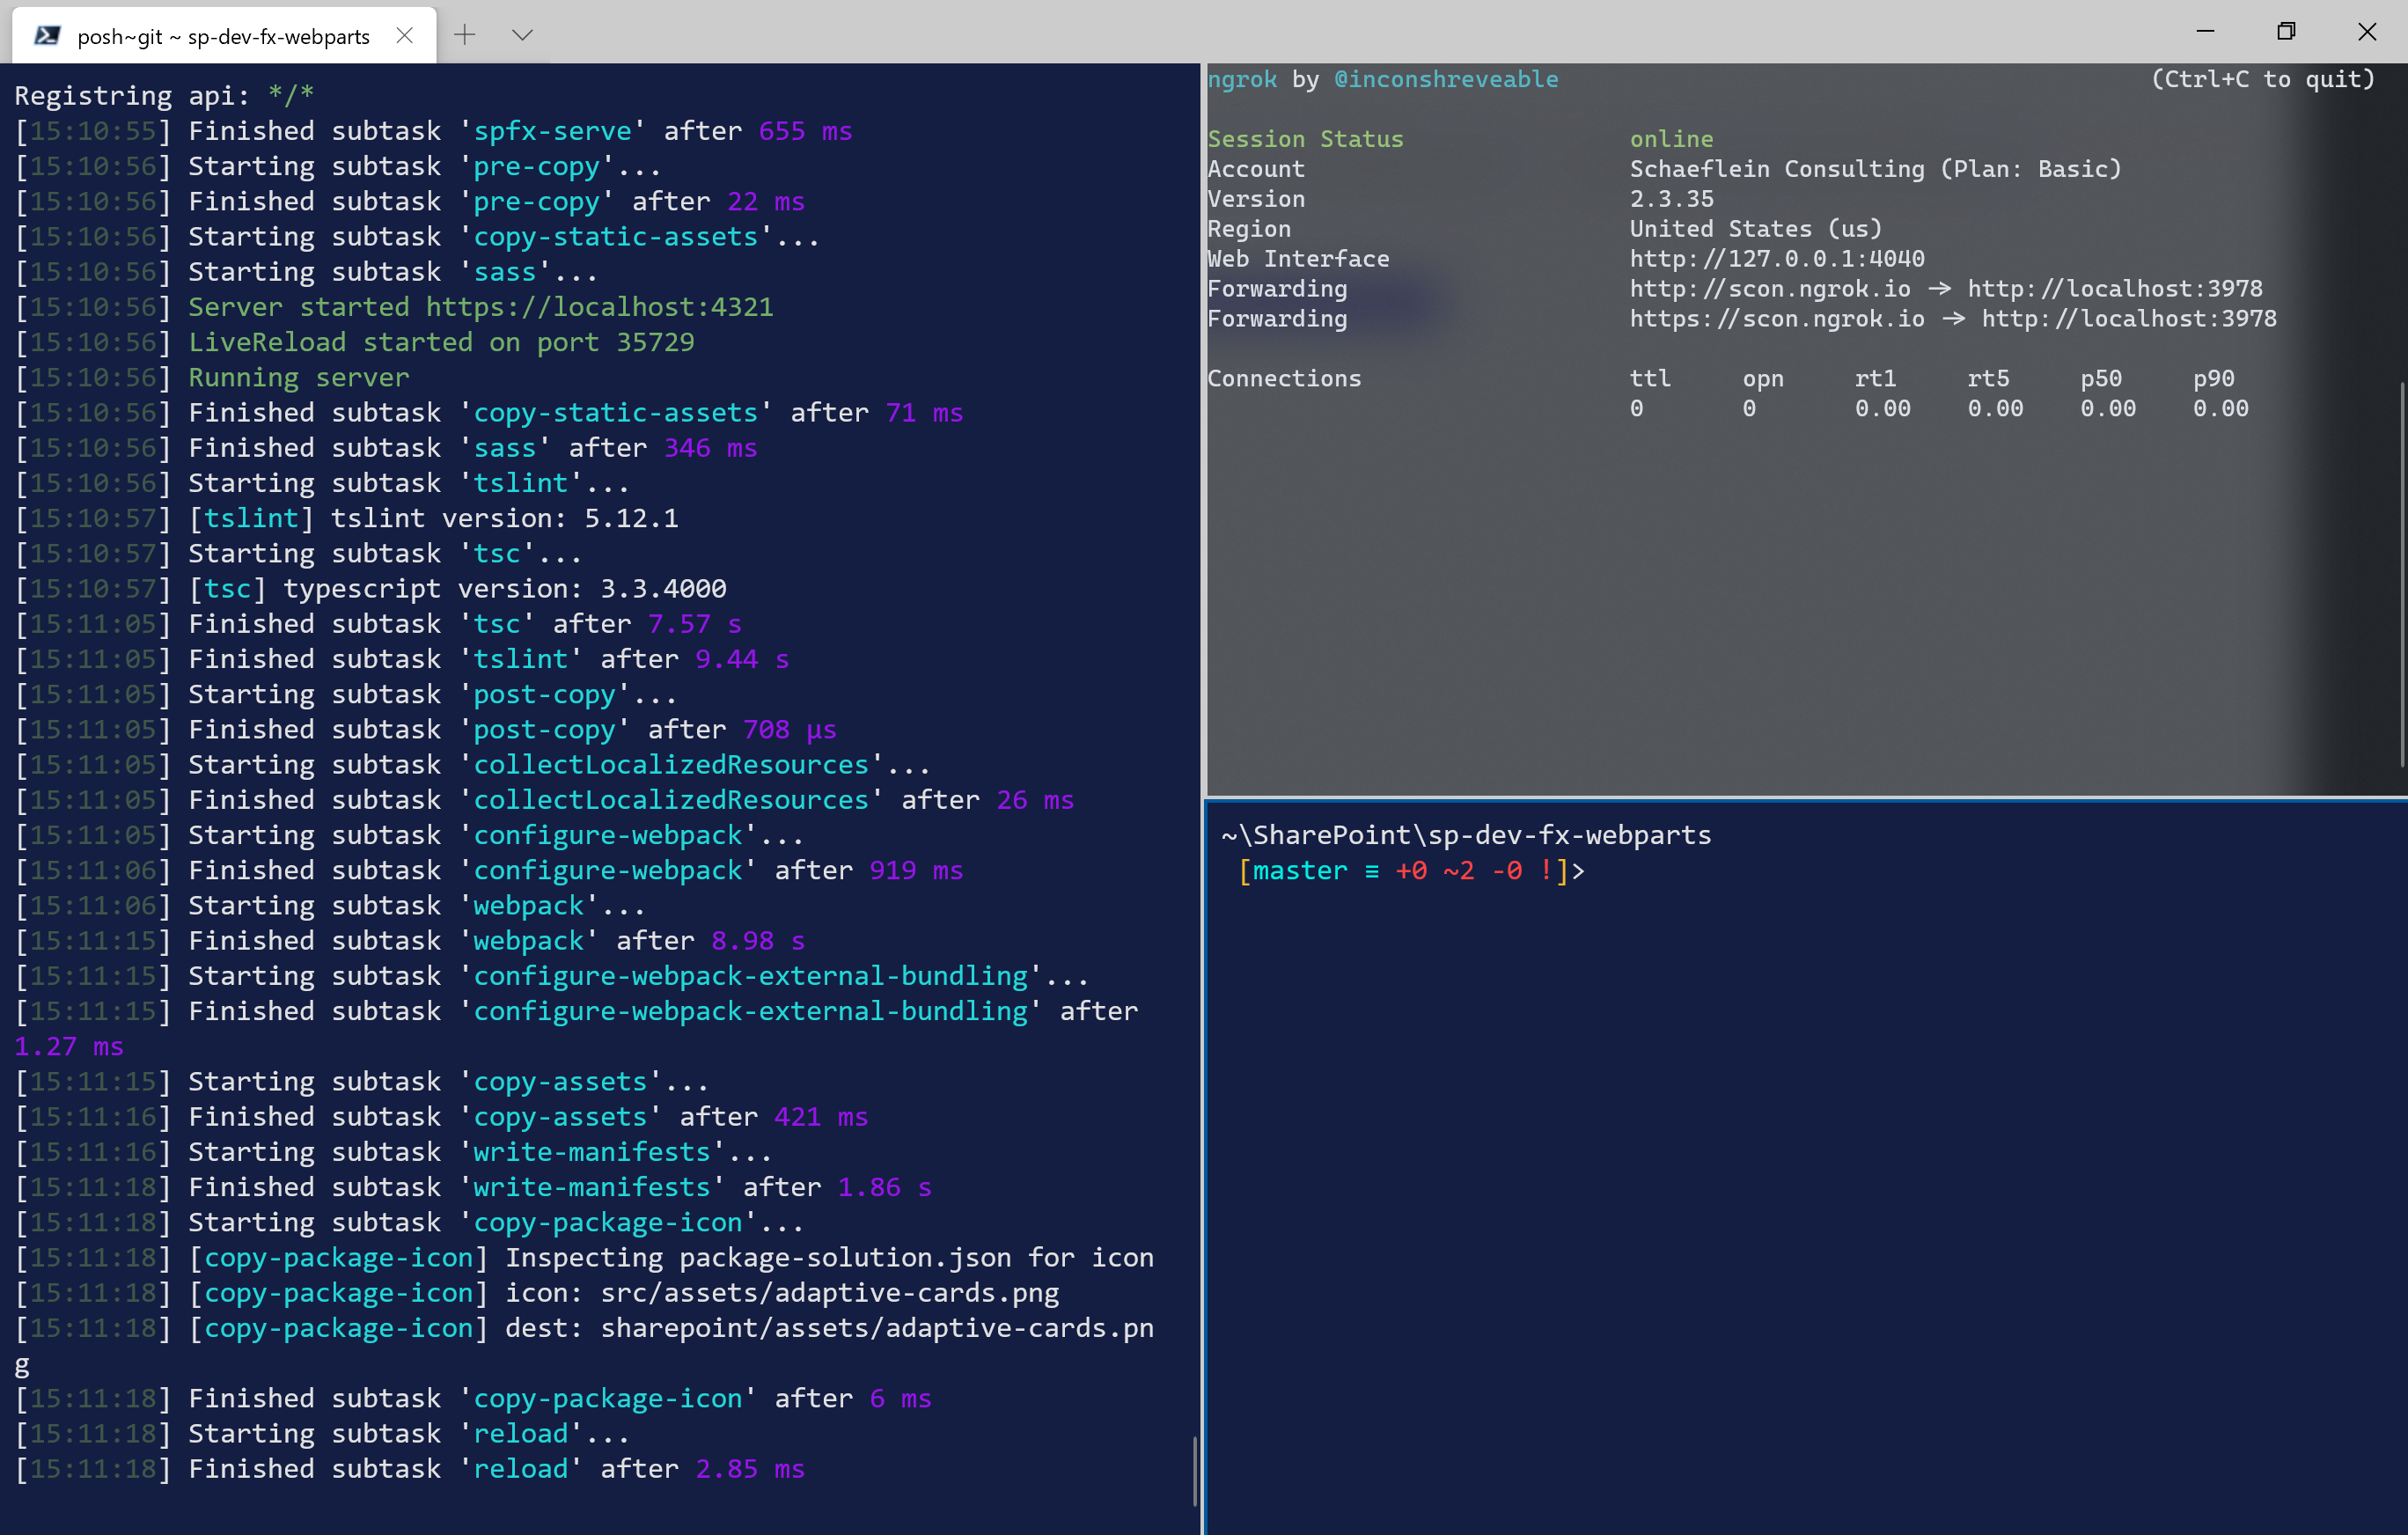
First, Windows Terminal. I can configure profiles that run different environments, use different colors and even connect to Azure. Most importantly, I can "split panes" instead of tabs.

This arrangement allows me to see the SPFx build when I save files, lets me see traffic to my web api and has a prompt for me to issue Git or CLI commands. (Did you know that a CLI can give you access tokens so you can test Http calls?)
Next, insider build of chromium-based Edge. Having a second installation of Edge allows me to launch the browser with remote debugging enabled without worrying about which profile gets started. I only use Edge beta for connecting to my dev tenant.
Lastly, the VSCode extensions. Of course, Debugger for Microsoft Edge and Elements for Microsoft Edge. I find REST Client helpful, as well as Rainbow Brackets. And EditorConfig to rise above the format wars.
Automating the startup
So, finally, here is how it all fits together:
- Windows Terminal profile
A custom profile for my ngrok utility (just the interesting properties):
{
  "acrylicOpacity": 0.75,
  "colorScheme": "One Half Dark",
  "commandline": "cmd.exe /k C:\\Repos\\ng4.cmd",
  "cursorColor": "#FFFFFF",
  "icon": "https://ngrok.com/static/favicon.ico",
  "name": "ngrok",
  "suppressApplicationTitle": true,
  "startingDirectory": "C:\\Repos\\",
  "useAcrylic": true,
  "tabTitle": "ngrok"
}
That profile calls a .cmd file, which uses an ngrok configuration file to give me a secure, well-known endpoint for my web service.
- Launch POSH script
I created a devLaunch.ps1 script that is included in the source repo. It leverages the Windows Terminal command line to open and configure the terminal as seen above:
Start-Process -FilePath wt -ArgumentList "
  -p `"Powershell`" -d . `"$ENV:AppData\npm\gulp.cmd`" serve --nobrowser;
  split-pane -p `"ngrok`" ;
  split-pane -p `"Powershell`" -d . -H"
-WindowStyle Maximized
The command above is broken up for readability. (Put it all on one line to make it work for you. ) The parts and their function:
| Command part | Description |
|---|---|
Start-Process |
Without using Start-Process, the process that launches devLaunch.ps1 would wait for the new Terminal window to close before continuing. |
-FilePath wt |
The name of the Windows Terminal executable. The default installation adds wt.exe to the path. |
-ArgumentList |
The arguments are surrounded by double quotes, as you would expect for a windows-based command with spaces. The arguments contain three different wt subcommands. |
-p ... |
The first command uses the default PowerShell profile and runs the SPFx gulp serve command from the current directory. |
split-pane -p "ngrok" |
Splits the Windows Terminal pane vertically and runs the ngrok profile in the right-most pane. |
split-pane -H |
Splits the second (right) Terminal pane horizontally, running the default POSH profile |
With the launch script as part of the solution, I can use the VSCode terminal (`CTRL+``) to run the launch script and close it up again.
For the very rare occasion that I need to debug my code,😊 I created a launch profile for my second installation of Edge.
{
  "type": "edge",
  "version": "beta",
  "request": "launch",
  "name": "Dev-SolutionsHub",
  "url": "https://[devtenant].sharepoint.com/sites/[spfx-site]",
  "port": 9222,
  "webRoot": "${workspaceRoot}",
  "sourceMaps": true,
  "sourceMapPathOverrides": {
    "webpack:///.././src/*": "${webRoot}/src/*",
    "webpack:///../../../src/*": "${webRoot}/src/*",
    "webpack:///../../../../src/*": "${webRoot}/src/*",
    "webpack:///../../../../../src/*": "${webRoot}/src/*"
  }
}
This launch profile copies most of the settings created by the @microsoft/sharepoint generator. The url attribute is set to the site I am using to test the current project, and the port attribute matches the value for the remote debugging port that the SPFx build chain uses.
I hope these notes are useful to folks. The key point – don't be afraid to hack around the process of developing solutions. Programmers are workers too. Don't be a cobblers child.
